

Meet ROVA AI.
Make every conversation count.
Learn what ROVA AI can do, get to know the ROVA Console, and follow clear steps to build, test, and launch your first agent.
Get started01 — INTRODUCTION
What ROVA AI does
ROVA AI is an enterprise conversational AI platform that automates customer voice calls and WhatsApp messaging with natural, human-like agents. Powered by ultra-low latency speech models, Retrieval-Augmented Generation (RAG), and continuous customer memory (Cortex), ROVA agents handle complex multi-turn conversations, answer inquiries accurately, qualify leads, schedule bookings, and seamlessly execute business workflows.
Ultra-realistic voice agents
Deploy inbound and outbound phone agents with sub-second response latency. Agents handle natural turn-taking, human interruptions, multi-language speech recognition, ambient acoustics, and live human transfers.
WhatsApp Business automation
Connect your verified WhatsApp Business number to automate 24/7 inbound customer support, rich interactive messaging, and outbound notification campaigns with pre-approved Meta message templates.
Grounded knowledge (RAG)
Equip agents with PDF documents, spreadsheets, websites, and FAQs. Agents answer inquiries using verified business context with zero hallucinations and real-time source attribution.
Cortex continuous memory
Retain context, caller preferences, and past interaction histories across both voice calls and WhatsApp chats. Returning customers are recognized immediately without having to repeat themselves.
Autonomous CRM & operations
Automatically capture qualified leads, schedule and reschedule appointments, record customer orders, lookup catalog items, and sync customer data into integrated CRM tables.
Conversation intelligence
Review high-fidelity stereo audio recordings, interactive waveforms, word-for-word searchable transcripts, automated AI summaries, sentiment scoring, and structured data extraction.
02 — INTRODUCTION
What is the ROVA Console?
The ROVA Console (console.getrova.ai) is your mission control center for configuring, testing, monitoring, and scaling AI agents. Designed with a streamlined dark-mode interface and responsive controls, the console gives your team complete visibility over agent behavior, live conversations, phone numbers, and operational records.
Home & Ask ROVA
Monitor conversation trends, resolution rates, remaining wallet credits, and recent activity. Use Ask ROVA to query your workspace analytics, call logs, and customer data using everyday natural language.
Build Studio
Configure voice and WhatsApp agents, customize voice personas, tune ambient background sound, author system prompts with dynamic variables, manage knowledge bases, and review Cortex memory.
Talk & Conversations
Access call recordings, word-for-word transcripts, sentiment tags, and AI summaries. Launch mass outbound dialing campaigns with scheduled contact CSV lists and manage WhatsApp Business chats.
Integrated CRM
Centralize customer records created from AI conversations: track qualified leads, manage calendar bookings, fulfill customer orders, and maintain your live products and services catalogue.
Phone & Team
Provision virtual local or toll-free numbers, connect your own carrier (BYOC via SIP trunking), configure human call transfer extensions, and maintain Do-Not-Call (DNC) compliance rules.
Account & Developers
View per-minute and per-message usage, manage billing packages and invoices, generate scoped API keys (e.g. calls:read, campaigns:write), and monitor webhooks with delivery logs and retry controls.
Security notice: The console provides direct access to live customer data and telephony controls. Only invite authorized team members, enforce strong passwords, and never share API keys or verification codes.
03 — FIRST STEPS
Your first setup
Follow this step-by-step walkthrough to build, test, and launch your first AI agent on ROVA Console. Start with a single clear scenario (such as answering front-desk inquiries or scheduling appointments) before expanding to multi-channel workflows.
- 01Sign in to console.getrova.ai and confirm your workspace access and manager permissions on the Home dashboard.
- 02Open Build → Agents and select New agent. Choose Voice for phone conversations or WhatsApp for text messaging.
- 03Set up your agent identity: enter a descriptive name, choose your language, and select a voice Persona (including voice tone, gender, and ambient background sound).
- 04Draft your instructions and greeting: write a concise greeting and clear behavioral guidelines in What it says. Use dynamic variables like {name} or {company} to personalize interactions.
- 05Add trusted knowledge: in Build → Knowledge, upload business PDFs, FAQs, or your website URL. Once processed, attach the knowledge base to your agent in the Knowledge tab.
- 06Configure call settings and actions: set maximum call duration, enable call recording, configure human call transfer numbers in Phone → Team, and toggle CRM tools (leads, bookings, orders).
- 07Test thoroughly in the Try it panel: use in-browser Talk (with your microphone), trigger 'Call me' to receive an incoming test call on your mobile phone, or test WhatsApp chat. Changes must be saved to apply to tests.
- 08Connect a number and launch: in Phone → Numbers, assign your agent to an inbound phone number, or launch an outbound voice campaign in Talk → Campaigns.
04 — FIRST STEPS
Create a ROVA account
If self-service registration is enabled for your region, follow the sign-up flow on console.getrova.ai to provision your dedicated organization workspace in minutes.
- 01Open console.getrova.ai and select Create an account.
- 02Enter your full name, organization or business name, work email address, and mobile phone number with country code.
- 03Create a secure password with at least 8 characters, including numbers and symbols, and accept the terms of service.
- 04Verify your email: enter the 6-digit one-time code sent to your work email address.
- 05Verify your mobile number: enter the separate 6-digit verification code delivered to your mobile via WhatsApp or SMS.
- 06Once verified, ROVA automatically provisions your workspace and assigns welcome credits so you can immediately begin creating and testing agents.
05 — FIRST STEPS
Sign in to the ROVA Console
Go to console.getrova.ai and sign in using your registered credentials or passwordless mobile verification.
Email & password sign-in
Enter your registered work email, select Continue, and enter your account password. If you need to recover access, use the 'Forgot password' link on the password step to receive a secure reset link.
Mobile OTP sign-in
Enter your registered mobile number with country code. Select whether to receive your 6-digit one-time code via WhatsApp or SMS, then submit the code for instant password-free entry.
Workspace invitations
If your administrator invited you to an existing workspace, sign in with the exact email or mobile phone number associated with your invitation to access the workspace directly.
Managed enterprise access
For enterprise organizations managed directly by the ROVA team, sign in with your enterprise credentials or contact your internal ROVA administrator for assistance.
Never include your password or one-time verification code in a screenshot or shared message. Keep your login credentials private.
06 — FIRST STEPS
Understand roles and feature access
ROVA provides role-based access control (RBAC) and plan-tier feature management to ensure team security and operational governance.
Workspace Owner
Full administrative authority over workspace settings, team member invitations, billing packages, wallet recharges, credit top-ups, and developer API credentials.
Workspace Manager
Operational authority to create and edit agents, configure voice and prompt settings, upload knowledge bases, launch campaigns, manage phone numbers, and review CRM data.
Staff / Agent Member
Operational access for team members who receive transferred calls from AI agents, follow up on assigned leads, and review customer interaction histories.
Plan Tiers & Section Locks
Sections such as WhatsApp, Campaigns, or Developers may show a lock icon if not included in your active plan tier (Free, Paid, or Managed). Contact your workspace owner to upgrade access.
07 — CONSOLE
Home & Ask ROVA
Home
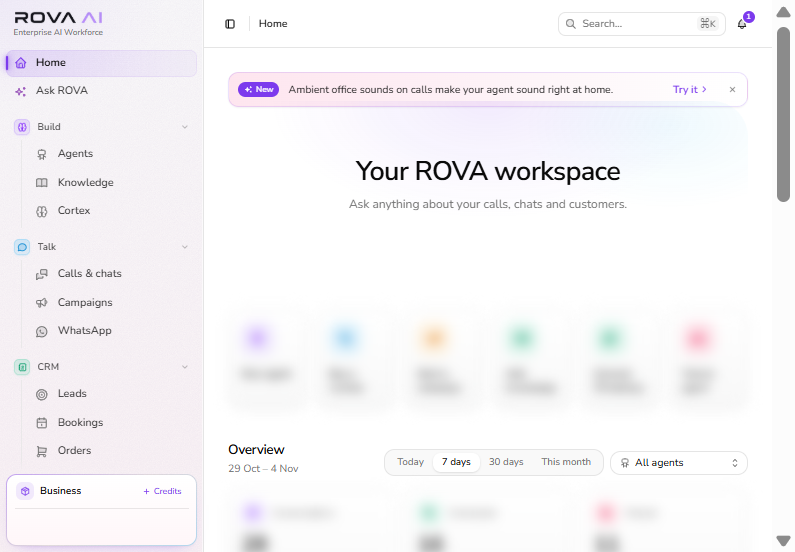
Your starting point. See setup reminders, quick actions, call and conversation trends, recent activity, and credits. Use the date range and agent filters to change the overview.
Ask ROVA
Ask questions about calls, chats, customers, and performance in everyday language. Start a conversation, review previous questions, and attach supported files when your workspace allows it.
08 — CONSOLE
Build: create the AI experience
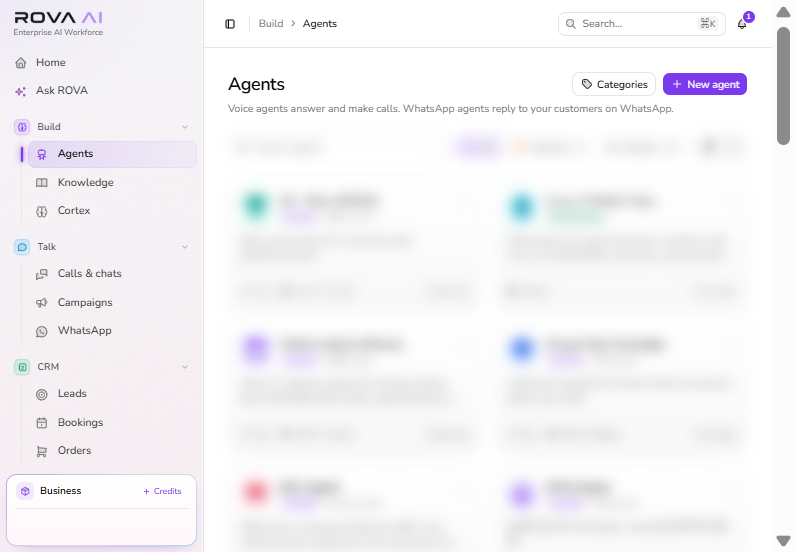
Build contains the tools that define how your agents respond and what they know.
Agents
Create voice or WhatsApp agents, write instructions, choose language and voice, connect knowledge, configure actions and call behavior, and review saved versions.
Knowledge
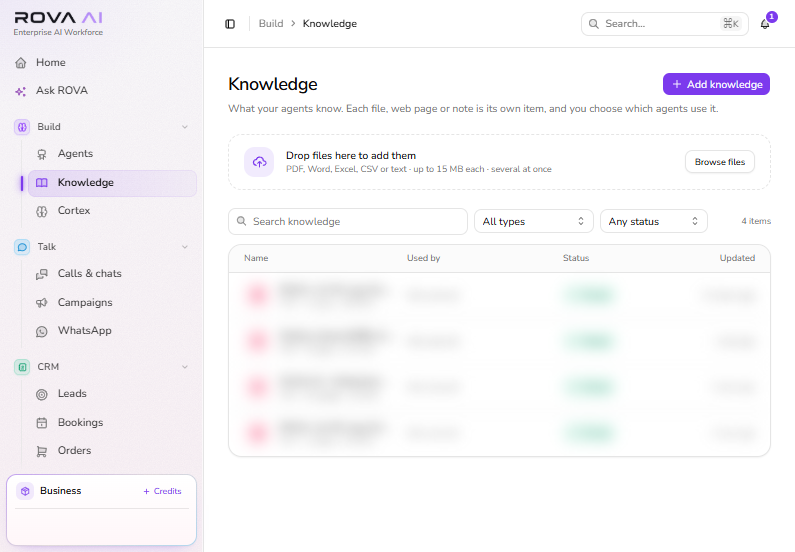
Create a knowledge base and add documents, web pages, or notes as sources. Let sources finish processing, then attach the right knowledge base to an agent and test its answers.
Cortex
Review the customer memory feature used to retain helpful context between conversations. Availability and controls depend on your workspace configuration.
09 — CONSOLE
Talk: manage conversations
Calls & chats
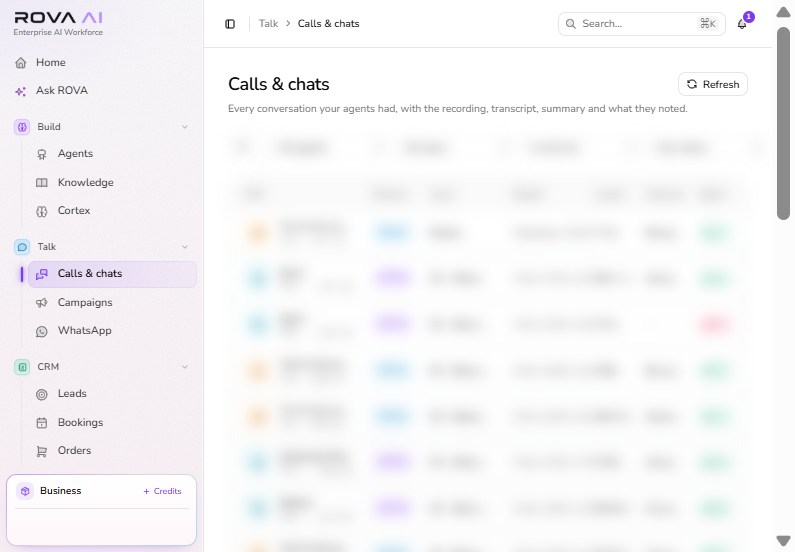
Search by name, phone number, or conversation ID. Filter by agent, channel, direction, or status, then open a record to review the available transcript, recording, summary, and captured details.
Campaigns
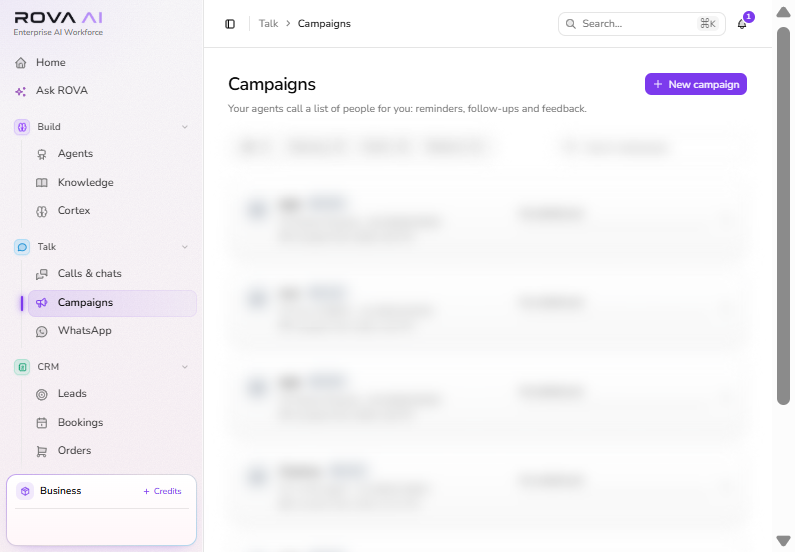
Create and monitor outbound voice campaigns. Draft, upload contacts, choose a schedule, and review carefully before you confirm launch.
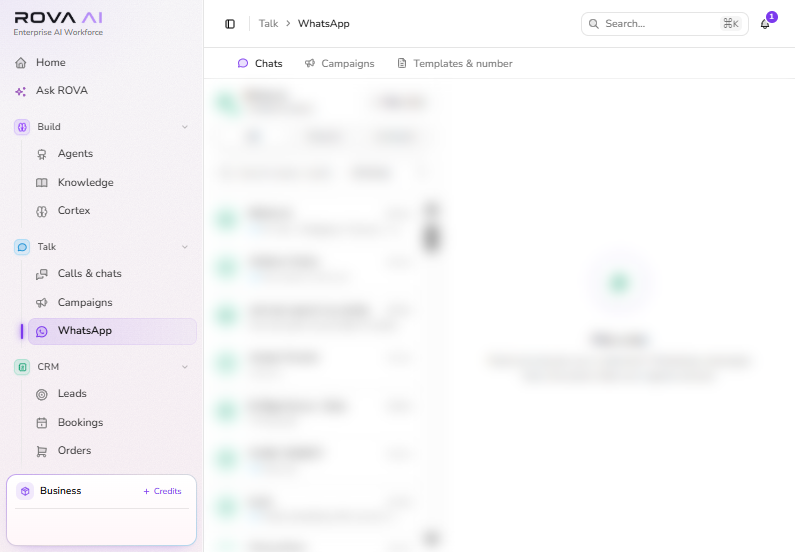
Manage the connected WhatsApp inbox, approved message templates, and WhatsApp campaigns. A connected WhatsApp Business number and approved templates may be required to message customers.
10 — CONSOLE
CRM: keep customer work in one place
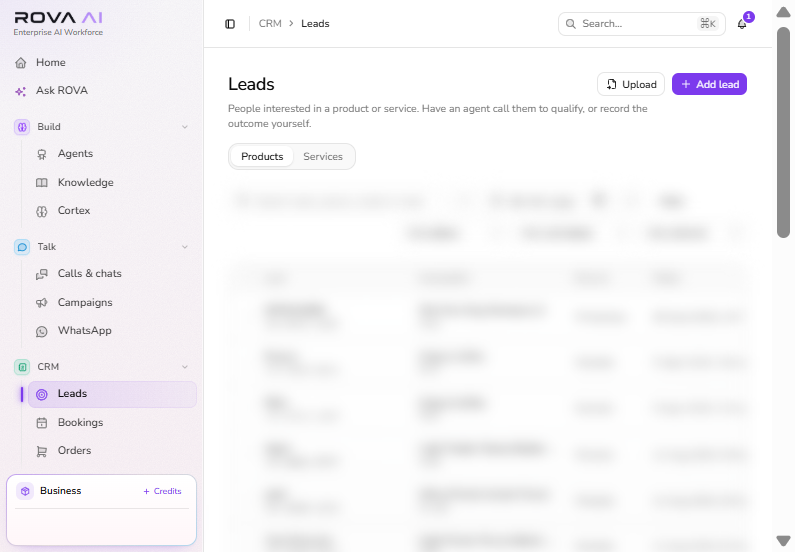
CRM screens collect information handled by your agents. Some records are created from conversations; catalogue and scheduling changes may require manager access.
Leads
Review and follow up on enquiries captured by agents. Use the available search and filters to find prospects and their status.
Bookings
Review appointments created through conversations. Check the date range and booking status to find upcoming, completed, or changed appointments.
Orders
Track orders captured by agents and follow their displayed order and fulfillment status.
Customers
Find customer profiles and review relevant contact details and conversation history. Use import tools if enabled for your workspace.
Products
Maintain the product catalogue and availability so agents can answer customer questions accurately.
Services & specialists
Manage bookable services, specialists, and availability information used during appointment conversations.
Reporting
Explore performance charts and summaries for calls, bookings, and outcomes. Adjust the reporting period to compare activity.
11 — CONSOLE
Phone: connect people and numbers
Numbers
View phone and, when enabled, WhatsApp numbers. Choose which voice agent answers each phone line and which WhatsApp agent handles each connected WhatsApp number.
Team
Manage people available for hand-offs and related calling controls, such as numbers that should not be called. Keep team details current so agents can transfer calls correctly.
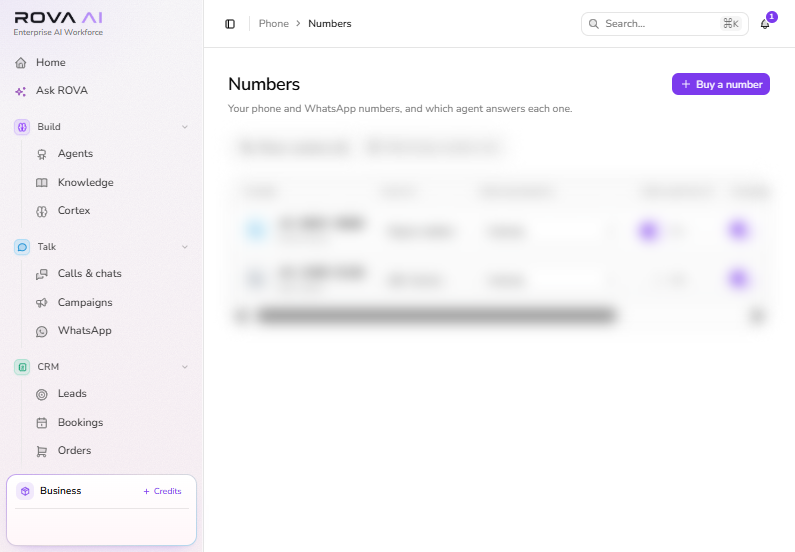
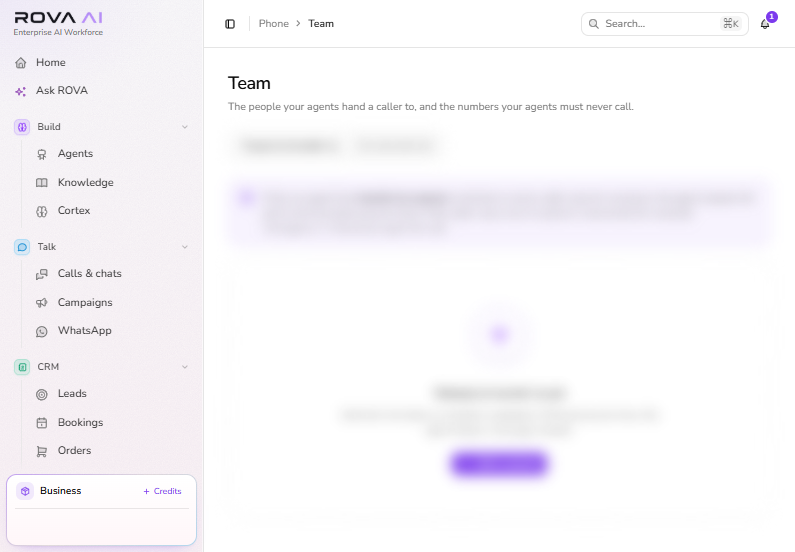
Before an outbound campaign, review your organisation's do-not-call controls and make sure the people who may receive a hand-off are current. Number purchase and carrier options vary by workspace.
12 — CONSOLE
Account: usage, billing & workspace settings
Usage
Review usage activity and charges for calls, messages, or other metered features. Check the selected period when comparing totals.
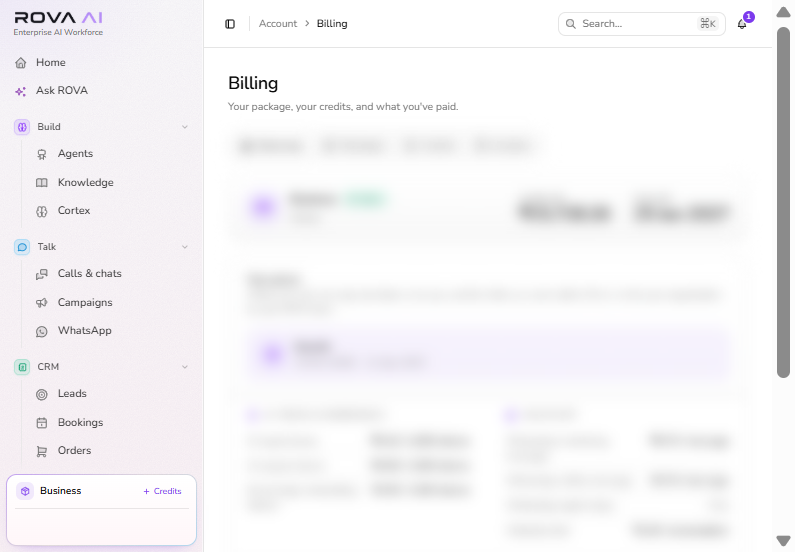
Billing
View your plan, credits, payment history, and available invoices or packages. Self-service options differ by account; contact your ROVA team if payment or plan controls are unavailable.
Integrations
Connect supported carrier accounts when enabled. Use your own provider account to manage compatible telephony numbers through ROVA.
Developers
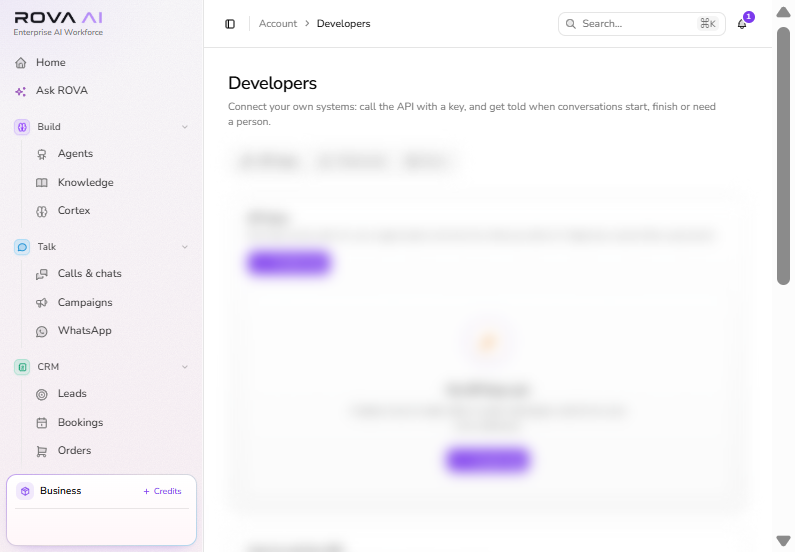
For workspace managers: find API and webhook options for connecting your systems. Protect credentials and only share them with trusted administrators.
Settings
Manage your profile, security, and workspace preferences. Check the activity log when you need to see who changed something.
13 — HOW-TO GUIDES
Test your agent before launch
Open Build → Agents, select an agent, and use the Try it panel beside the editor. Choose a test method that matches your agent.
Talk · browser voice test
For a voice agent, open Talk, allow microphone access when your browser asks, and have a spoken conversation. Use the end-call control to finish.
Call me · phone test
Choose Call me, select a number to call from, enter your mobile number, then select Call me now. ROVA calls you so you can speak with the saved agent.
WhatsApp · chat test
For a WhatsApp agent, type into the Try it chat as if you were a customer. Send a message, review the reply, and start over to test a different scenario.
Tool test
In an existing agent's Actions, test a configured tool with sample values. Create the agent first—tools on a new, unsaved agent cannot be tested.
14 — HOW-TO GUIDES
Add knowledge your agent can trust
- 01Open Build → Knowledge and create or open a knowledge base for a clear topic or team.
- 02Choose the option to add a source. Follow the form to upload an allowed document, add a web page, or enter a note.
- 03Wait for the source to finish processing; a newly added source may take a short time to become ready.
- 04Open Build → Agents, edit the agent, and select the relevant knowledge base in its Knowledge section.
- 05Save the agent and ask specific questions in Try it. Check the displayed source attribution where available, and update incomplete or outdated content.
Only add information your organisation is authorised to use. Avoid uploading secrets or unnecessary personal data.
15 — HOW-TO GUIDES
Make an outbound call or receive an inbound call
To call a list of customers
Use a voice agent configured for outbound calls, then create a campaign. The console keeps the campaign as a draft while you prepare it—calls are not placed until you confirm the final launch.
- 01Open Talk → Campaigns and select New campaign.
- 02In Setup, choose the campaign purpose, outbound-capable agent, and caller number; give the campaign a name. Save and add contacts.
- 03In Contacts, upload a CSV or add contacts. Include a contact_number column with valid phone numbers. Use the sample CSV and any extra columns required by your agent's {variables}.
- 04In When, choose to start now or schedule a time. Review the contact count, agent, caller ID, and schedule on the final screen.
- 05Select Launch campaign and confirm Start calling. To run it later, select Schedule campaign instead.
Launching contacts can incur usage or calling charges. Check your selected recipients, local calling rules, time window, and available credits before confirming. Campaign controls let you review progress and manage an active campaign.
To receive incoming calls
- 01Create and save a voice agent that answers inbound calls.
- 02Open Phone → Numbers and use a phone number available to your workspace (buy one if your plan allows, or connect a supported carrier).
- 03Assign the agent in the number's Calls answered by control and save the assignment.
- 04Call the assigned number from another phone and check Calls & chats for the conversation and its outcome.
Callers can only reach the AI when the number is connected and assigned to an eligible agent. If you need a number or carrier enabled, contact your ROVA administrator or support team.
16 — HOW-TO GUIDES
Prepare an outbound campaign
A campaign is the controlled way to have an agent call multiple contacts. Take time to verify the list and the final review.
- 01Confirm that your voice agent is saved, configured to call out, and tested.
- 02In Talk → Campaigns, create a campaign and select the correct agent and caller number.
- 03Upload the CSV. Read the import results and correct invalid phone numbers or missing columns before continuing.
- 04Select the calling time or schedule, then use Review to check who will be called.
- 05Launch only after you confirm the recipient list and any applicable consent, timing, and credit requirements.
17 — HOW-TO GUIDES
Get started with WhatsApp
- 01Ask your workspace administrator to confirm WhatsApp Business is connected and enabled.
- 02Create a WhatsApp agent from Build → Agents and write concise instructions and a customer-friendly greeting.
- 03Add the approved knowledge sources and configure the actions the agent needs. Save, then test it in the agent's chat-style Try it panel.
- 04Open Phone → Numbers and assign the WhatsApp number to your agent, if the number is available to your workspace.
- 05For outbound templates or campaigns, use approved templates and follow the review and scheduling steps shown on the WhatsApp screens.
18 — HOW-TO GUIDES
API keys, API docs, and webhooks
Workspace managers can find developer tools in Account → Developers. The page has separate tabs for API keys, Webhooks, and Docs. Use these tools only when connecting software you control.
Create an API key
- 01Open Account → Developers → API keys and select Create key.
- 02Give the key a name that identifies the system or integration that will use it.
- 03Choose only the permissions the integration needs. For example, calls:read and campaigns:write are separate permissions; the available choices are shown in the key form.
- 04Create the key, copy it once, and store it in your server-side secret manager. Do not put it in browser code, screenshots, public repositories, or customer messages.
- 05Review last-used information periodically. Revoke a key immediately if it is exposed or no longer needed; revocation takes effect straight away.
Read the API documentation
Open the Developers → Docs tab for the API host, supported endpoints, request examples, and response details available to your workspace. The documented examples include reading calls and adding a person to an existing campaign. Follow the examples shown there; do not assume an endpoint, field, or permission that is not documented.
Configure a webhook
- 01Open the Developers → Webhooks tab and choose Add endpoint.
- 02Enter an HTTPS URL on a server you control, select the event types your system needs, and add an optional note. The console does not allow private or local addresses.
- 03Add the endpoint and copy its signing secret when it is shown. Store it in your server's secret manager; it is not shown again.
- 04Make sure your server responds with a 2xx status within 10 seconds. Use the endpoint's test action to check delivery.
- 05Verify each signature on your server before processing an event. Treat event payloads as untrusted input and avoid logging credentials or unnecessary personal data.
- 06Use the delivery log to inspect status, response codes, and attempts. Failed events are retried automatically; after fixing your endpoint, you can resend eligible failed deliveries from the log.
19 — HOW-TO GUIDES
Packages, welcome credits, and invoices
Open Account → Billing to see the package, available balance, and billing options for your organisation. Your ROVA team may manage the package for you, so the controls can differ between workspaces.
Overview
Check the current package status, credits remaining, and any displayed validity or payment dates.
Packages
Review packages available to your account. If self-service purchase is enabled, follow the checkout and payment instructions shown in the console.
Credits
Review available credit packs and credit activity, including additions and usage entries where shown.
Invoices
View invoices issued to the organisation and download a PDF when the invoice is available.
Monthly plans are not currently sold through the self-service package list. Managed-account changes should be requested from your ROVA contact.
20 — HOW-TO GUIDES
Quick checks
A page is locked or missing
Features depend on your plan, workspace configuration, and role. Ask a workspace manager to check access or contact your ROVA administrator.
The agent can't answer a question
Check that the right knowledge base is attached, its sources are ready and current, and the agent's instructions clearly describe when to use them.
The browser voice test cannot hear you
Allow microphone access in your browser and check that your microphone is connected and not being used by another app. Try Call me if browser voice is unavailable.
A call does not reach the agent
Confirm that the number is active, assigned to the right voice agent, and available for inbound calls. For outbound calls, check campaign status, caller number, schedule, and contact validity.
A button or control is unavailable
Some actions require manager permissions, an enabled feature, a connected number, an approved template, or an active plan. The page may explain what is missing.
Need more help?
Contact your ROVA workspace administrator or support team. Include the page, what you expected, and a conversation or campaign ID where appropriate—never send passwords or API secrets.